Releasing Features On Our Terms
Now the power to release is in your hands!
Way to go! You've successfully implemented your first feature flag and validated that the release seems to work in our production environment. We could have gone ahead and released it to all of our customers, but it makes sense to first release to a smaller group of users, just in case something goes wrong later on with our release. hint hint 😉
🎯 Intro to Release Targeting
We'll dive deeper into release targeting later in this workshop, but it's an extremely useful capability in LaunchDarkly that touches multiple scenarios, including de-risked releases! To get started, we'll set up a LaunchDarkly Segment.
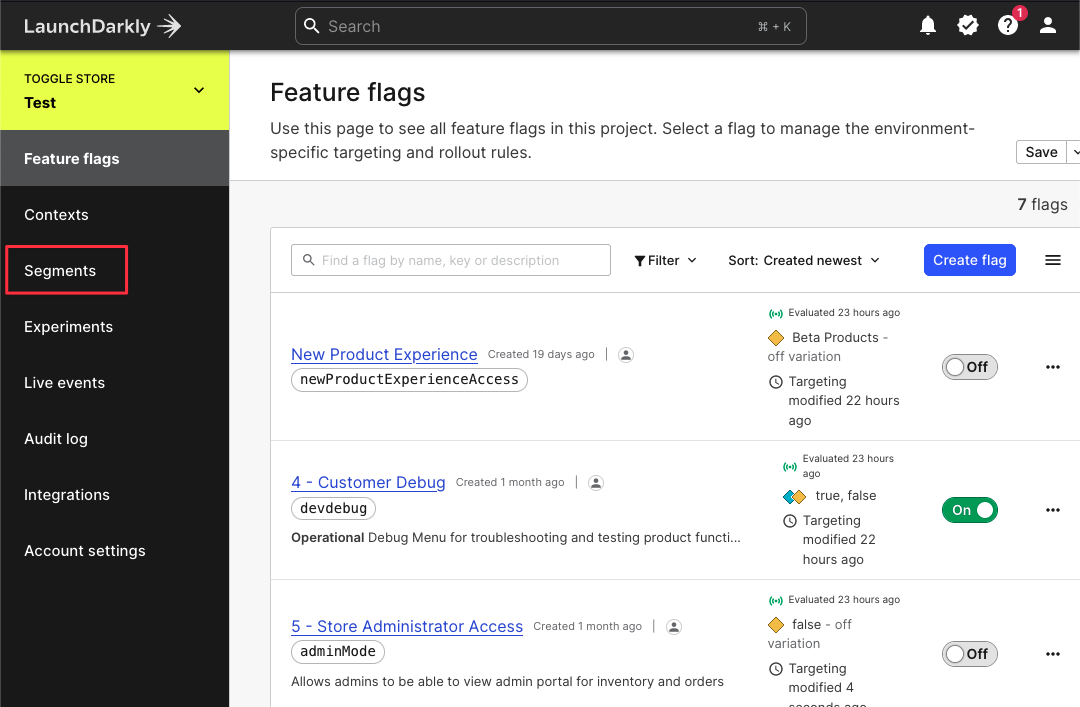
Step 1: Open the LaunchDarkly dashboard and select the Segments tab.
What is a Segment?
Segments are collections of users, devices, or any other group that share some sort of common attribute. In this demo, we're going to set up a segment for our internal development team at Toggle Outfitters.
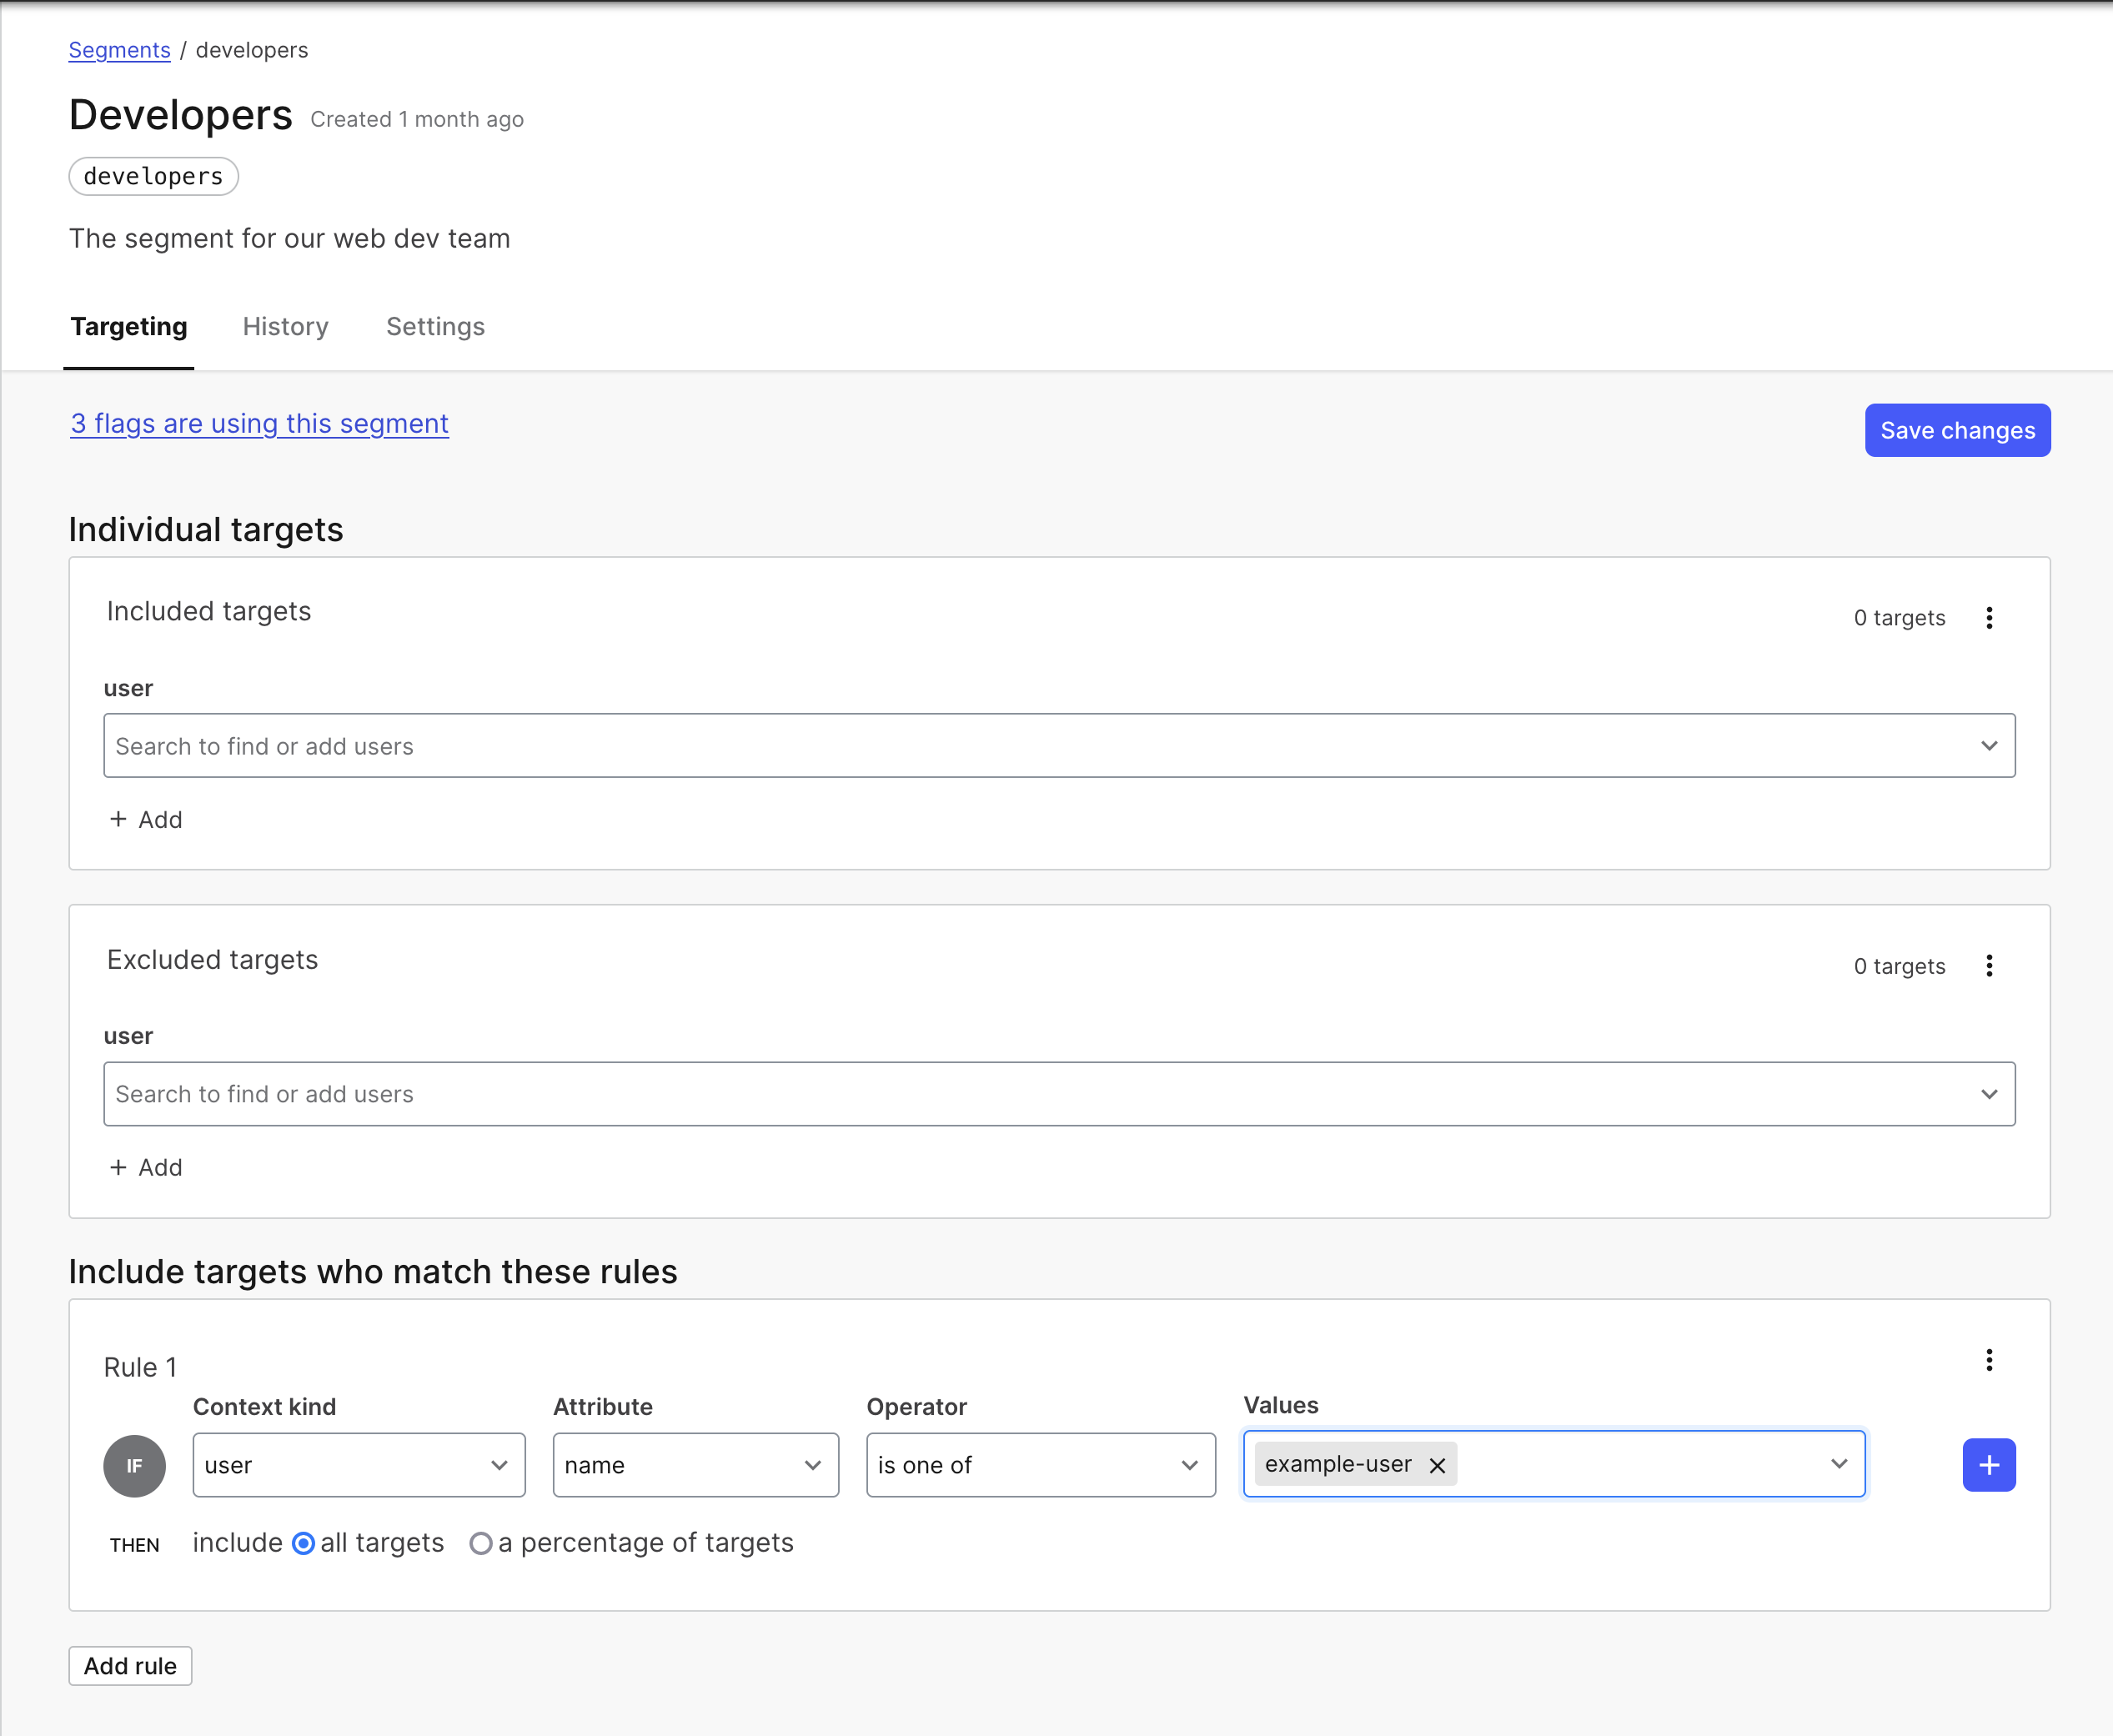
Step 2: Create a new Segment named Developers.
Step 3: Select the +Add rules Box.
Step 4: Add some usernames to it by creating a rule where the name is whatever username you choose, see the image below for how this should look:
Important Notes
Make sure you choose a username that you'll remember, so we can log in with it later. Also, important note, usernames will be case sensitive! So keep that in mind while choosing one to add to this segment. 😃 Another potential mistake here is entering developer names under the Individual Targeting section instead of creating a rule. Individual targeting matches against user keys (UUIDs), not the name attribute of the users.
🔬 Testing in Production
Now that we have a Segment created, we can finally test new code in production! 😱
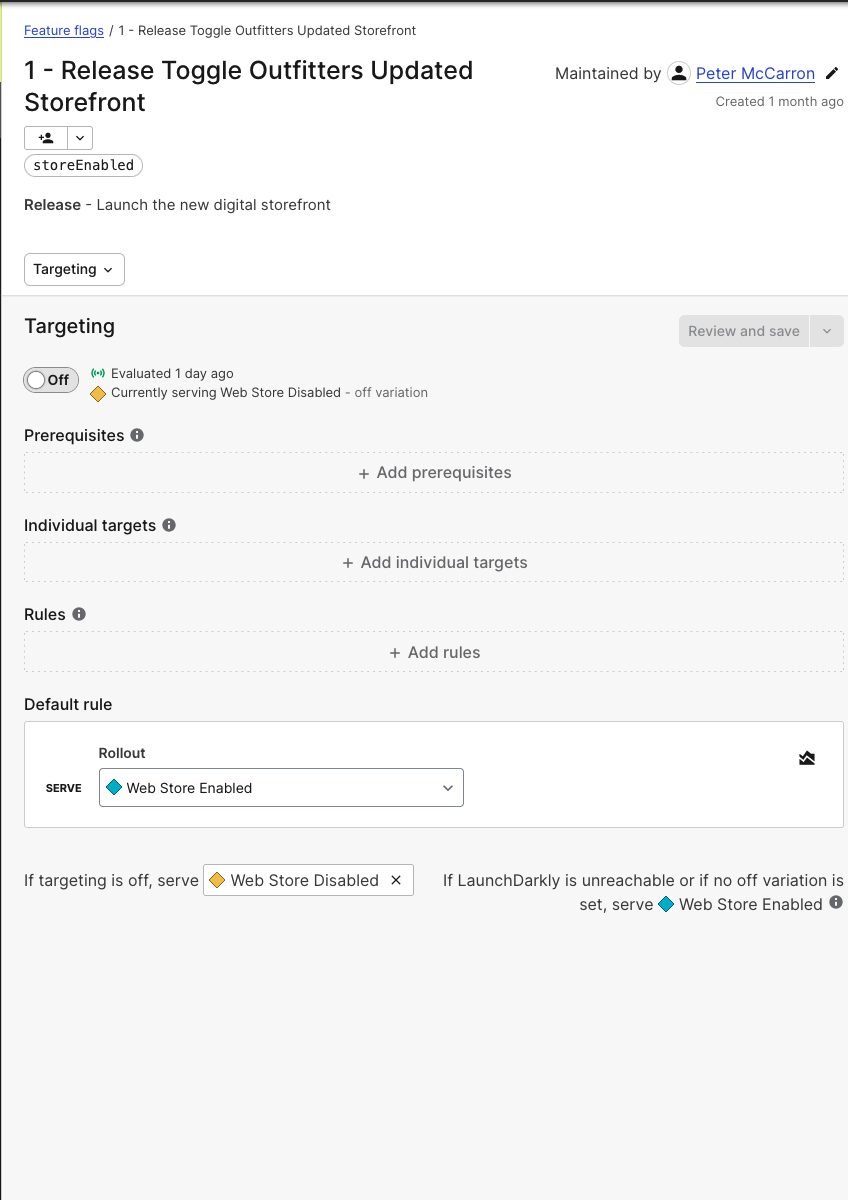
Step 1: Select the storeEnabled flag you created previously to enable the new webstore feature from the Feature Flags dashboard in LaunchDarkly. You should see a screen similar to this:
Step 2: We're going to create a targeting rule. Instead of just turning our targeting on, we'll need to do the following:
- Select the
+ Add rulesbox - Choose from the Context kind dropdown
is in segment - Select the
Developerssegment you just created - Under Rollout, choose the
Store Enabledvariation - Change the Default rule to serve
Store Disabled - Turn targeting on, review and save
Once you do this, you should see no difference in your application. Why? Well because we haven't logged in yet!
Step 3: In the Toggle Outfitters application, choose the Login button and use one of the usernames that you added to the Developers segment.
Important Note
When using release targeting, make sure you change the default rule. Otherwise, you might be serving all users instead of just your targeting rules!
If you've logged in, you should see your brand new webstore! 😍
Another Quick Note
Now that you've logged in with your developer credentials, you'll automatically see future changes that we make. You don't have to log out each time, but if you would like to see the changes happen in real time, feel free to log back in or out with your credentials!
Troubleshooting Tips
If for some reason you don't, make sure you check the following:
- Are you logged in with the correct username?
- Did you save all your configurations in the flag, including turning on targeting, and reviewed and saved your changes?
- Check the
index.tsxfile to make sure you are both retrieving the flag values and have the correct ternery operator in place for the new component
So far, this all seems pretty straightforward, right? Well let's get a little more advanced and see how we handle things when they go wrong. 😈